

Fixing things around the house feels great — especially when it saves you money. Many homeowners today want to take care of small repairs on their own, and that’s a smart move. But when it comes to plumbing, not every job is a good fit for a weekend warrior.
DIY plumbing projects can range from simple tasks like fixing a leaky faucet to more complex jobs like replacing pipe sections. Knowing the difference between what’s safe to do yourself and what needs a licensed plumber can save you a lot of money, time, and stress.
In this guide, we’ll walk you through the most common home plumbing tasks you can handle, tools you’ll need, safety tips, and when it’s time to call in an expert. Whether you’re a first-timer or someone with a little experience, this article is written in plain, simple language so anyone can understand and follow along.
By the end, you’ll have a clear picture of how to handle basic plumbing fixes, avoid costly mistakes, and protect your home from water damage.
Over the last few years, there has been a big rise in people taking on home repairs on their own. Online tutorials, step-by-step videos, and better tools at local hardware stores have made it much easier for regular people to fix small problems without calling a professional.
There are several good reasons why people choose to do their own plumbing repairs:
A plumber can charge $75 to $200 per hour, depending on your location. Simple fixes done at home can save hundreds of dollars.
Minor issues like a running toilet or dripping faucet don’t need to wait for an appointment.
Understanding how your home’s water system works gives you confidence and control.
Plumbers are sometimes hard to book, especially during busy seasons or emergencies.
According to the U.S. Bureau of Labor Statistics, the demand for licensed plumbers continues to grow, which often means longer wait times and higher service costs.
For basic repairs, doing it yourself is not only possible — it’s often the smarter choice. However, it’s important to know your limits. Not every plumbing issue is safe to handle without professional training.
Before you begin any home plumbing repair, having the right tools makes everything easier and safer. You don’t need a full workshop — just a basic set of tools that every homeowner should have.
| Tool | Purpose |
|---|---|
| Adjustable Wrench | Tightening and loosening pipe fittings |
| Plunger | Clearing clogs in toilets and drains |
| Pipe Wrench | Gripping and turning large pipes |
| Plumber’s Tape (Teflon) | Sealing threaded pipe joints |
| Pipe Cutter | Cutting copper or PVC pipes cleanly |
| Drain Snake / Auger | Removing deep clogs from pipes |
| Channel-Lock Pliers | Gripping oddly shaped parts |
| Bucket and Towels | Catching water during repairs |
| Flashlight or Headlamp | Seeing inside cabinets and tight spaces |
| Safety Gloves | Protecting your hands |
Most of these tools are affordable and available at any hardware store. Having them ready before starting saves you from mid-project trips to the store.
Always turn off the water supply before starting any repair. The main shutoff valve is usually located near your water meter. Getting familiar with where this is before a problem happens is one of the smartest things a homeowner can do.
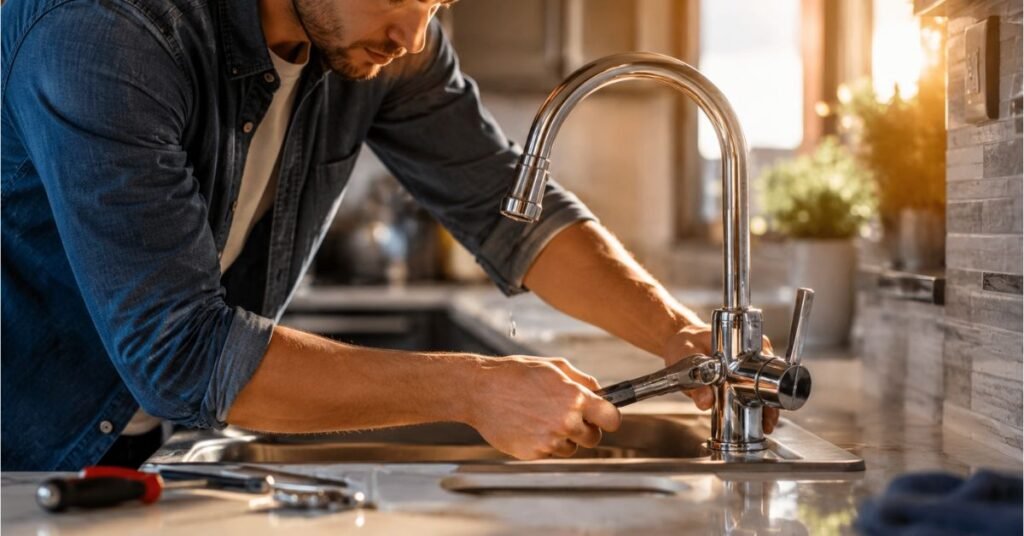
A dripping faucet is one of the most common and annoying plumbing problems in any home. The good news? It’s also one of the easiest to fix. A single dripping faucet can waste more than 3,000 gallons of water per year, according to the U.S. Environmental Protection Agency (EPA).
Turn off the water supply under the sink.
Remove the faucet handle (usually held by a screw under the decorative cap).
Take out the old cartridge or washer inside.
Take it to the hardware store to find an exact match.
Install the new part and reassemble the faucet.
Turn the water back on and test.
Most leaky faucets are caused by worn-out washers, O-rings, or cartridges. These parts are cheap — usually under $10 — and replacing them takes about 30 to 45 minutes.
This type of repair is a perfect starting point for anyone new to home repairs. It requires no special skills, just patience and the right replacement part.
A slow or blocked drain is something almost every household deals with regularly. While chemical drain cleaners are widely sold, they can actually damage your pipes over time, especially older ones.
- Plunger: Works well for kitchen sinks and bathroom drains.
- Drain snake: Good for clogs deeper inside the pipe.
- Baking soda and vinegar flush: A natural method that breaks down grease and light buildup.
- Boiling water: Effective for grease-based clogs in kitchen sinks (do not use on PVC pipes).
Feed the snake into the drain opening slowly.
Rotate the handle as you push it forward.
When you feel resistance, you’ve hit the clog.
Continue rotating to break it up or pull it out.
Flush with water afterward.
Clearing drains is definitely one of the most satisfying DIY plumbing projects because the results are immediate. You can see and feel the difference right away.
Avoid pouring harsh chemicals regularly into your pipes. Over time, these products corrode the pipe walls, leading to leaks that are much more expensive to fix.
A running toilet is not just annoying — it wastes up to 200 gallons of water per day. The most common cause is a worn-out flapper or a faulty fill valve, both of which you can replace on your own.
Turn off the water supply to the toilet.
Remove the tank lid.
Unhook the old flapper from the overflow tube.
Take note of the size and take the old one to the hardware store.
Clip the new flapper in place and attach the chain.
Turn the water back on and test.
Turn off water and flush the toilet to empty the tank.
Use a sponge to remove remaining water.
Disconnect the water supply line.
Unscrew the locknut at the bottom of the tank and remove the old valve.
Install the new valve according to the package instructions.
Reconnect the water line and turn the water on.
Both jobs cost less than $20 in parts and take under an hour. They’re great examples of home plumbing repairs that save real money without requiring expert skills.
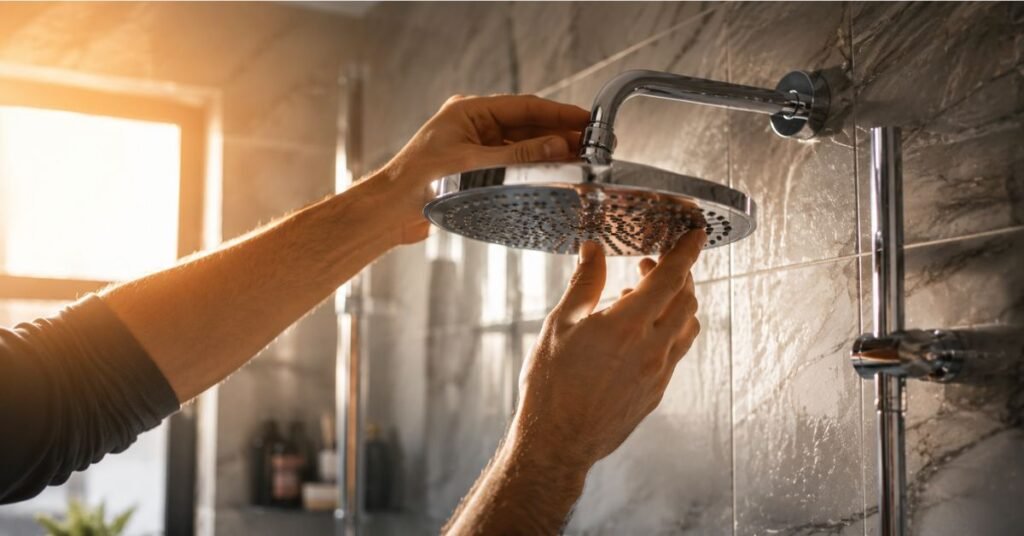
Upgrading your showerhead is one of the easiest and most rewarding home improvement tasks. A new water-saving showerhead can reduce water use by up to 40% compared to older models.
Wrap the shower arm threads with plumber’s tape.
Hand-tighten the new showerhead onto the arm.
Use a wrench to gently snug it up (don’t overtighten).
Turn on the water and check for leaks.
That’s really all there is to it. No pipe cutting, no soldering — just a wrench and some Teflon tape.
When choosing a showerhead, look for a WaterSense label, which is a certification from the EPA that guarantees water efficiency without sacrificing performance.
Beyond the flapper and fill valve, toilets can have a few other fixable problems:
Usually means a partially closed water supply valve or a clogged valve screen. Clean or fully open the valve.
This is caused by a damaged wax ring. While slightly more involved, replacing a wax ring is still something a confident home repair person can do. It requires lifting the toilet off the floor, removing the old ring, and placing a new one before resetting the toilet.
If your toilet flushes on its own occasionally, the flapper is leaking slightly. Replace it as described in Section 5.
These are all types of repairs that fall under the broader category of manageable home plumbing tasks — things that don’t require opening walls or working with main supply lines.
Knowing what NOT to do is just as important as knowing what you can do. Some plumbing jobs are genuinely dangerous and should only be handled by licensed professionals.
| Task | Why It’s Dangerous |
|---|---|
| Moving or replacing main water lines | Risk of flooding the home |
| Gas line work near water heaters | Explosion and leak risk |
| Sewer line replacement | Requires permits and specialized equipment |
| Installing new pipes behind walls | Needs permits and inspections |
| Water heater replacement | Involves electrical/gas connections |
| Septic system repairs | Health and legal risks |
These are NOT good candidates for DIY plumbing projects, even if you’re experienced. In most places, doing unpermitted plumbing work on major systems can result in fines and may void your home insurance.
Always check your local building codes before starting any plumbing work. The International Plumbing Code provides standards that most U.S. municipalities follow.
Prevention is always better than repair. Here are easy habits that can keep your home’s plumbing in great shape year-round:
- Use drain strainers in every sink and shower to catch hair and food particles.
- Never flush wipes — even “flushable” ones can clog pipes.
- Check under sinks monthly for signs of moisture or small drips.
- Insulate pipes in cold areas of your home before winter hits.
- Know where your main shutoff valve is so you can react fast in an emergency.
- Test your water pressure once a year. High pressure (over 80 psi) can damage pipes. A pressure gauge costs under $10.
- Clean showerheads by soaking them in white vinegar to remove mineral buildup.
- Don’t ignore small drips — they always get worse over time.
Building these habits takes just a few minutes a month but can prevent thousands of dollars in water damage and repair costs. Many homeowners only think about their plumbing when something goes wrong. Being proactive puts you in control.
Knowing your limits is a sign of intelligence, not weakness. There are clear situations when calling a professional is the right choice — even if you’re good at DIY plumbing projects.
- Multiple drains are slow or backed up at the same time (this often means a main line clog).
- You see water stains on ceilings or walls (hidden pipe leak).
- Your water pressure drops suddenly throughout the house.
- You smell sewage in or around your home.
- Water isn’t getting hot even after checking the heater settings.
- You’ve tried to fix something twice and it keeps coming back.
A good plumber won’t judge you for trying — they’ll appreciate that you know when to ask for help. Sites like HomeAdvisor and your local utility company can help you find licensed plumbers in your area with verified reviews.
| Task | DIY Friendly? | Estimated Cost (Parts Only) |
|---|---|---|
| Fix leaky faucet | ✅ Yes | $5–$20 |
| Unclog drain | ✅ Yes | $0–$30 |
| Replace toilet flapper | ✅ Yes | $5–$15 |
| Replace showerhead | ✅ Yes | $20–$80 |
| Fix running toilet | ✅ Yes | $10–$25 |
| Replace wax ring | ⚠️ With care | $10–$20 |
| Water heater replacement | ❌ No | $300–$1,500+ |
| Sewer line repair | ❌ No | $1,000–$5,000+ |
| Gas line work | ❌ Never | N/A |
| Behind-wall pipe work | ❌ No | Varies |
For small repairs like fixing a faucet or replacing a flapper, no permit is needed. But major work like replacing pipes or water heaters typically requires a permit in most areas.
Occasional use is okay, but regular use can slowly corrode pipes. Use a plunger or drain snake instead whenever possible.
Watch for water stains, peeling paint, mold smell, or unexplained increases in your water bill. These are signs of a hidden leak that needs professional attention.
You can use a pipe repair clamp as a temporary fix, but burst pipes almost always need a licensed plumber for a proper permanent repair.
Clogged drains and running toilets are the most frequently reported home plumbing issues, and both are usually easy to fix on your own.

Taking care of small plumbing repairs yourself is one of the best ways to save money and learn more about your home. From fixing a dripping faucet to unclogging a slow drain, many common household water issues are manageable with basic tools, a little patience, and the right guidance.
This guide has shown you that DIY plumbing projects can be safe, affordable, and even satisfying when done correctly. The key is knowing your limits and understanding when to step back and call a professional. Big jobs like sewer repairs, gas lines, and behind-wall pipe work are not safe for most homeowners — and that’s okay.
Start small, build your confidence, and always turn off the water before you begin. Keep your tools ready, follow the steps carefully, and don’t skip safety precautions.
Grab your wrench, pick one small repair from this guide, and give it a try. You might surprise yourself with what you can accomplish. And if you ever feel unsure, there’s no shame in calling a licensed plumber — your home is worth protecting.